THE ULTIMATE GUIDE TO BACKPACKING HAVASUPAI
Post Summary: A complete guide to backpacking Havasupai Falls in Arizona
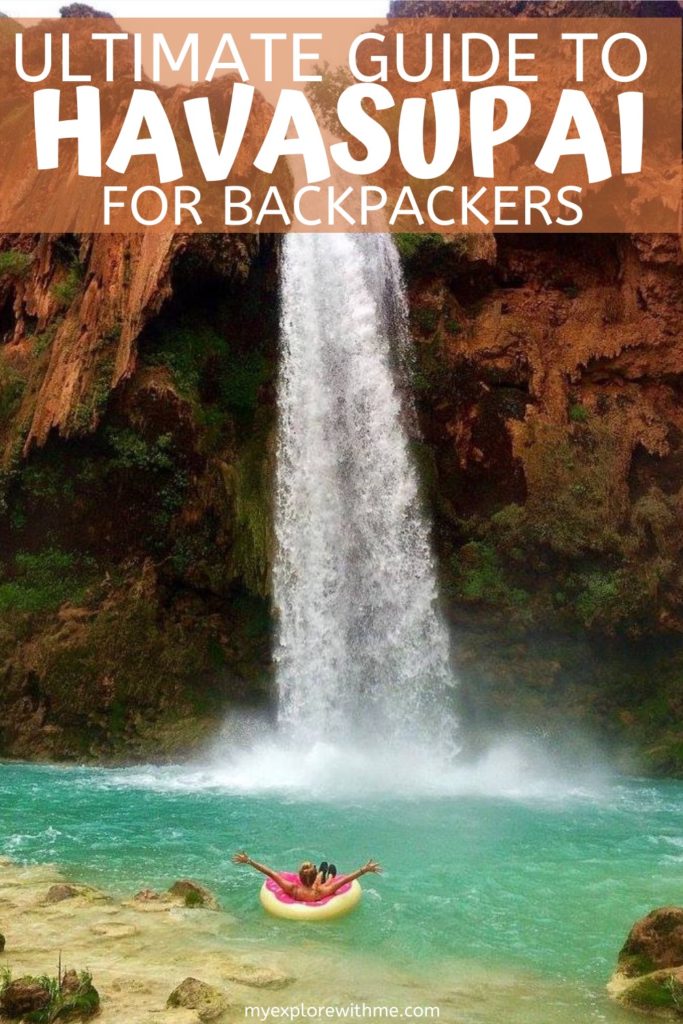
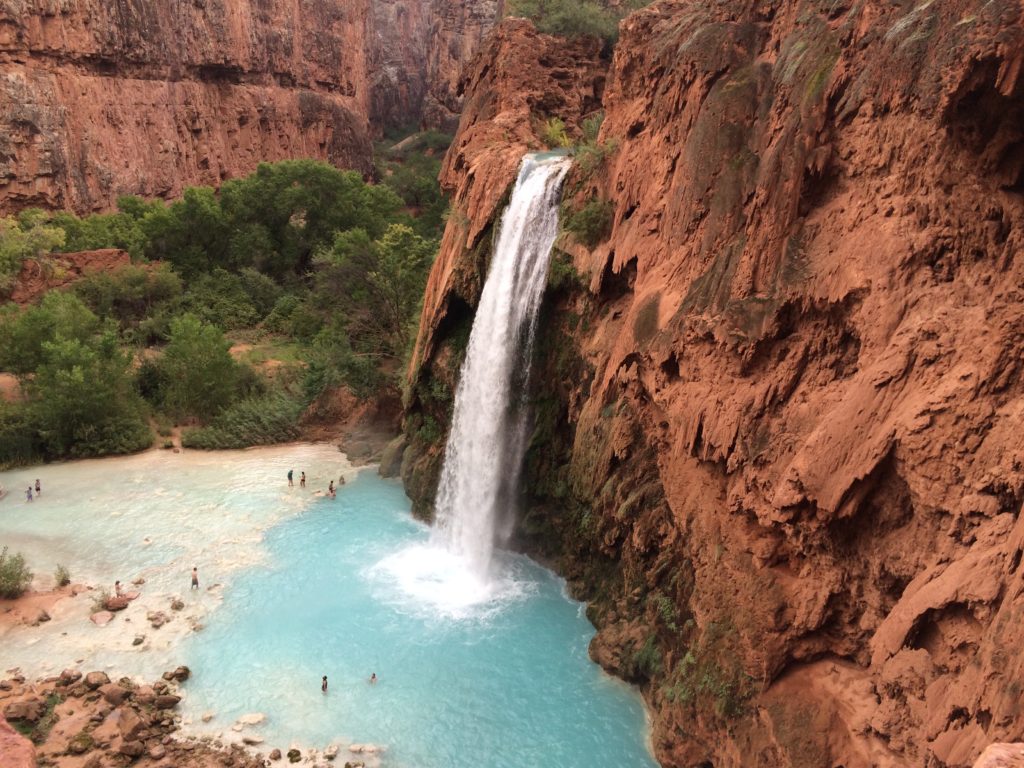
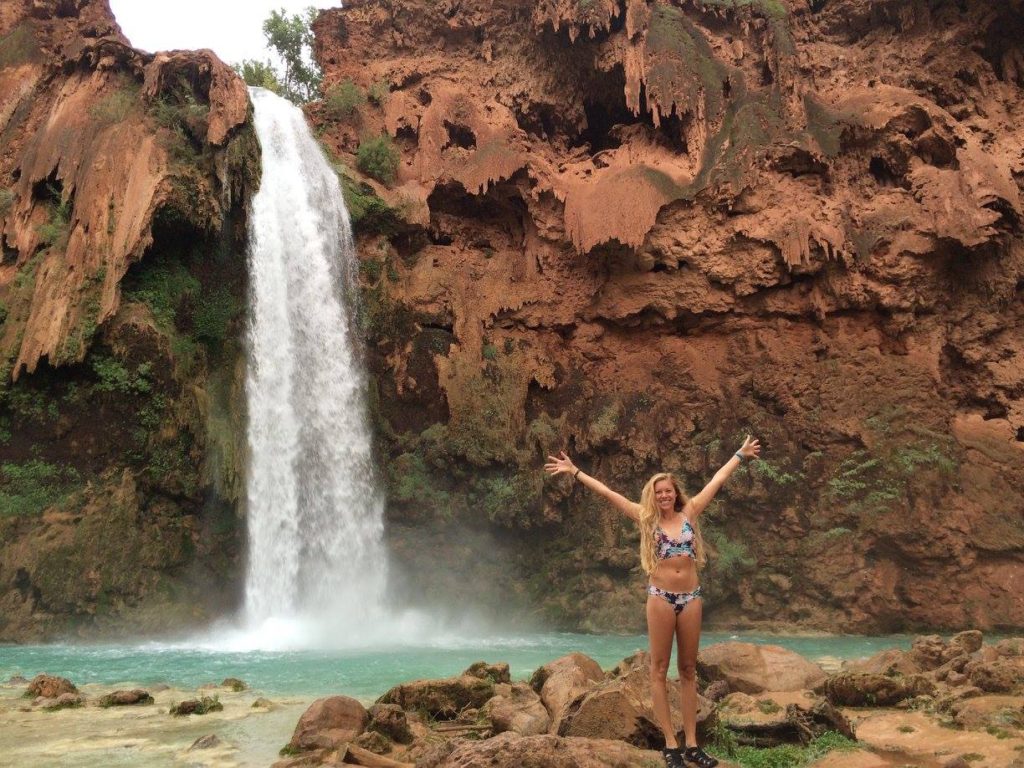
Guys! You know when people say “there is no way the water was that blue” and you are like no for realz it was!
Well, Havasupai Falls is THAT place! This gorgeous waterfall is located in Supai, Arizona and I am going to give you all the details on how YOU can backpack Havasupai.
Havasupai Falls belongs to an Indian Tribe otherwise known as the Havasupai Tribe or “the people of the Blue-Green Water.” This isolated waterfall is only accessible through a long hike (like backpacking) or by helicopter.
HOW TO GET TO HAVASUPAI
Let’s first talk about how to even get to the start of this hike! We personally found that is was the easiest and cheapest to fly into Vegas and start our trip from there!
And then after you complete your backpapcking Havasupai trip you can relax in Vegas for a night.
Grab your rental car and head to Hualapai Hilltop Parking Lot. This is located at the end of Indian Road 18. Keep an eye out for this road as it is easy to miss.
Once on Indian Road 18 you will drive about 63 miles until you reach the parking lot.
**Make sure to fill up before hitting Indian Road 18 as there are no gas stations along this route. The last place to fill up is in Kingman.
Parking is free just follow the posted signs in the parking lot!
HOLD UP! YOU NEED PERMITS FIRST!
In order to see this epic spot you will first need to snag some permits! These things are not easy to come by unfortunately.
But, I am going to tell you something. If you are persistent enough you will get one.
Your best chance of getting a permit will be to grab one at the beginning of the year as soon as the reservation lines open.
Tip: Be flexible with your dates!
I ended up calling multiple times a day for weeks on end to get a permit. Eventually, a group of 8 had canceled their reservations and I was able to grab all those permits!
To make a reservation and obtain a permit call the numbers listed below during the hours of 7am-7pm.
928.448.2180 / 928.448.2237 / 928.448.2141 / 928.448.2121
Or you can try the online route and reserve a permit here.
Reservations open February 1st.
PRICES AND FEES FOR BACKPACKING HAVASUPAI
There are essentially two options for your stay in Havasu. You can either backpack to Havasupai Falls or you can stay at the lodge in the village near the falls.
Campground pricing is as follows:
ALL campground reservations are 3 Nights / 4 Days.
- $100 per person per weekday night
- $125 per person per weekend night (Friday/Saturday/Sunday nights)
Lodging pricing is as follows:
- $440.00 per night – Up to 4 people
- $100.00 deposit per room / per night
There is also a $110.00 entrance/ environmental fee charged per person.
BACKPACKING HAVASUPAI
Alright! On to the good stuff! Let’s go over the basics of this backpacking trip and some FAQ!
Trail Name: Havasu Falls Trail or the Havasupai Trailhead
Type of Trail: Out and Back
How long? Around 19 miles roundtrip
Elevation gain? 2,500 feet
Crowded? Yes, this place always maxes out on their permits
Difficulty: This depends on the level of hiker you are. All levels can do this hike, but it is technically rated as moderate
Is it dog friendly? Unfortunately not
I was fortunate enough to backpack Havasupai with four other girlfriends back in 2016.It took us about 4.5 hours from the trailhead to reach the campground.
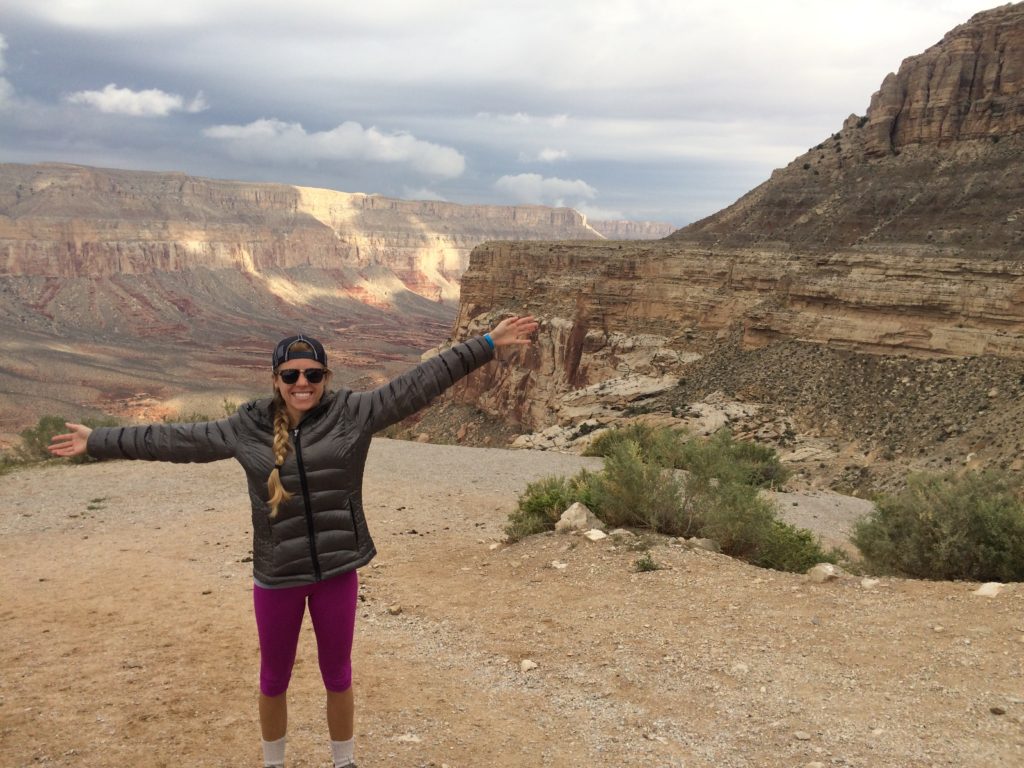
The trailhead begins at Hualapai Hilltop parking lot with an elevation of 5,200 feet.
The first part of the trail is a 1,000ft descent of switchbacks over the course of a mile-which makes for a difficult end to your trek on the way back out. So worth it though!
I am not going to lie to you guys. The hike down to the waterfall really wasn’t that bad, but the hike out was torcherous. Especially the last two miles.
We are talking straight uphill switchbacks for 2 miles.
After you descend, you are now in Havasu Canyon, the trail will follow a dry river bed for the next 6.5 miles which then you will get this village of Supai.
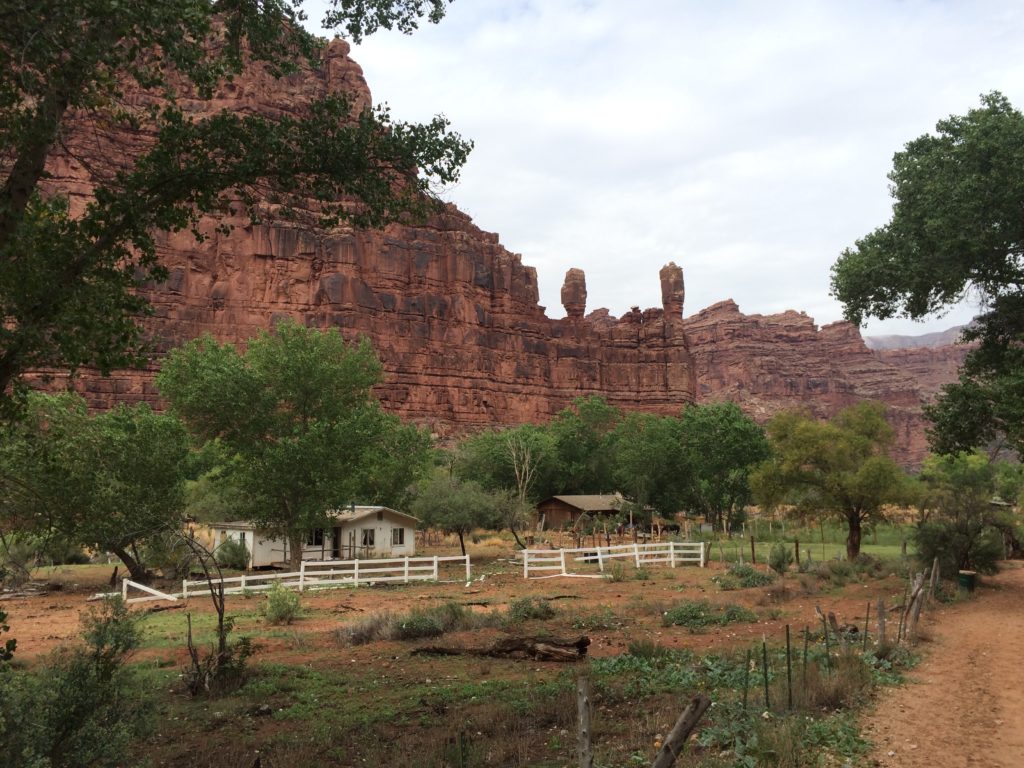
Back when I did this hike you had to check in at Supai and pay for your permits here. Now payment is all done online ahead of time. But, you still have to check in at the village to confirm your reservation.
TIP: If you are the person with the name on your reservation you MUST bring a photo ID with you and a printed copy of the email confirmation of your reservation. You also need to write down your license number for your car parked at the trailhead.
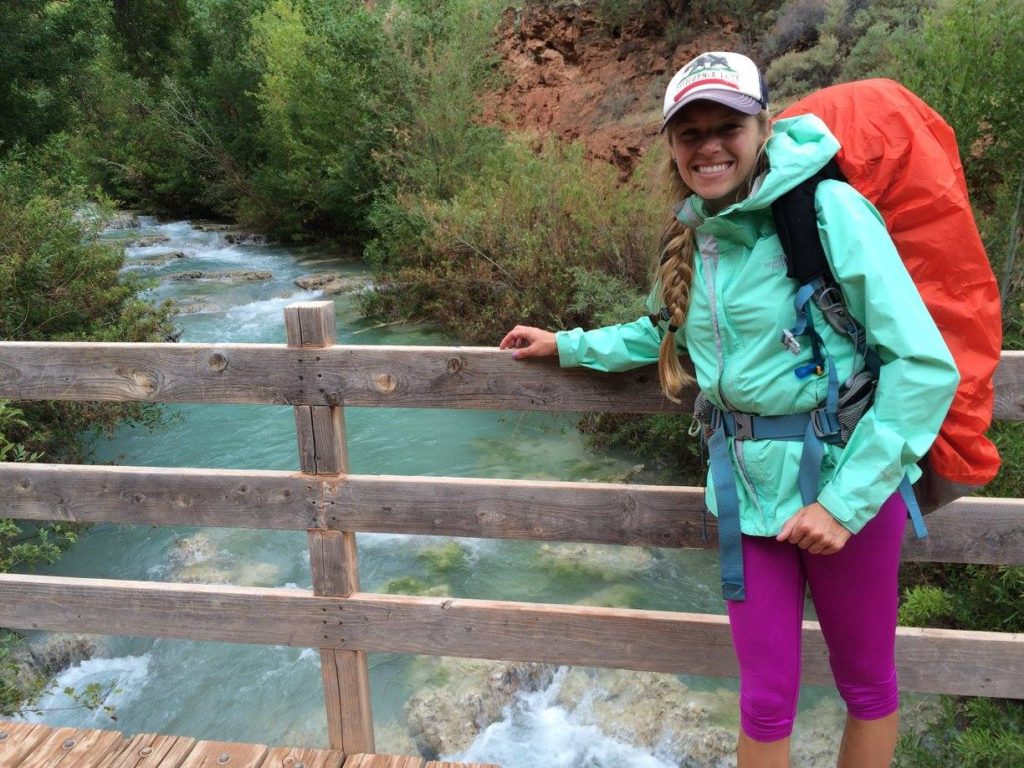
The village is only about 2 miles from the camping area and has a general store. So, if you are in desperate need of something you can always hike back up to the village for supplies.
Once you move on from Supai village you will come upon your first two sets of waterfalls: Fifty Foot Falls and Navajo Falls.
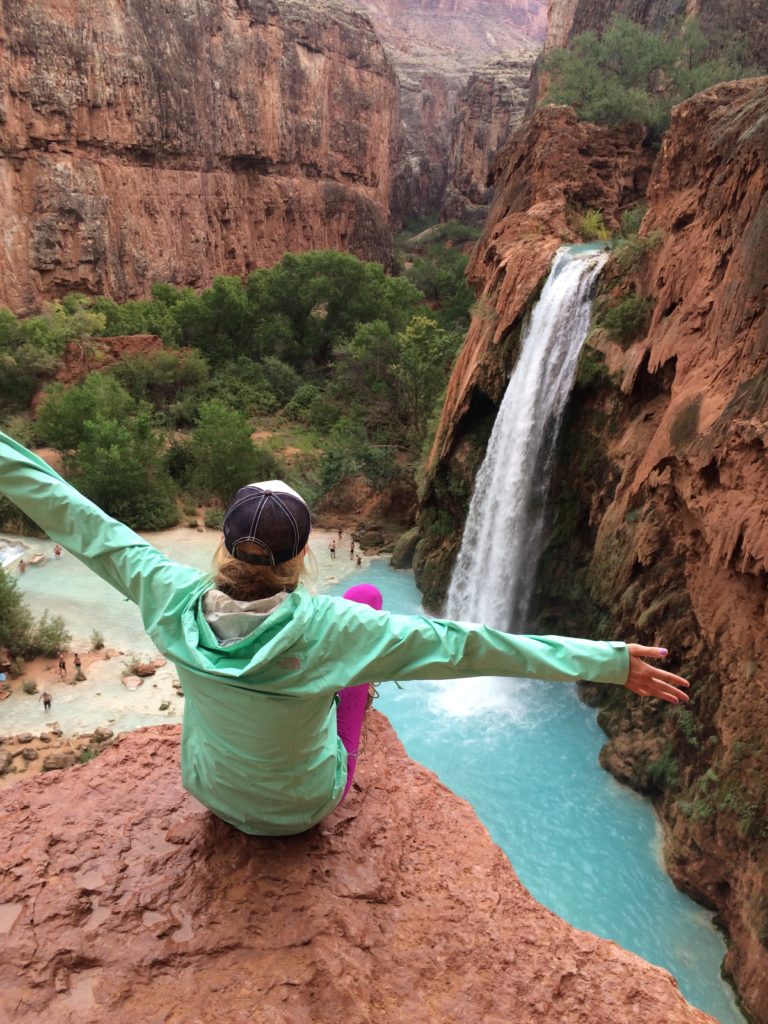
After enjoying these falls and taking lots of pictures of course. Move on to Havasu Falls. The view from atop is gorgeous.
Finally, you will descent into Havasu campground.
CAMPGROUND INFORMATION
So, how does it work? Camping is essentially a free for all once you arrive to the campground!
Of course the permit you purchase your permit you are guaranteed a spot, but it is first come first serve for the location of your tent.
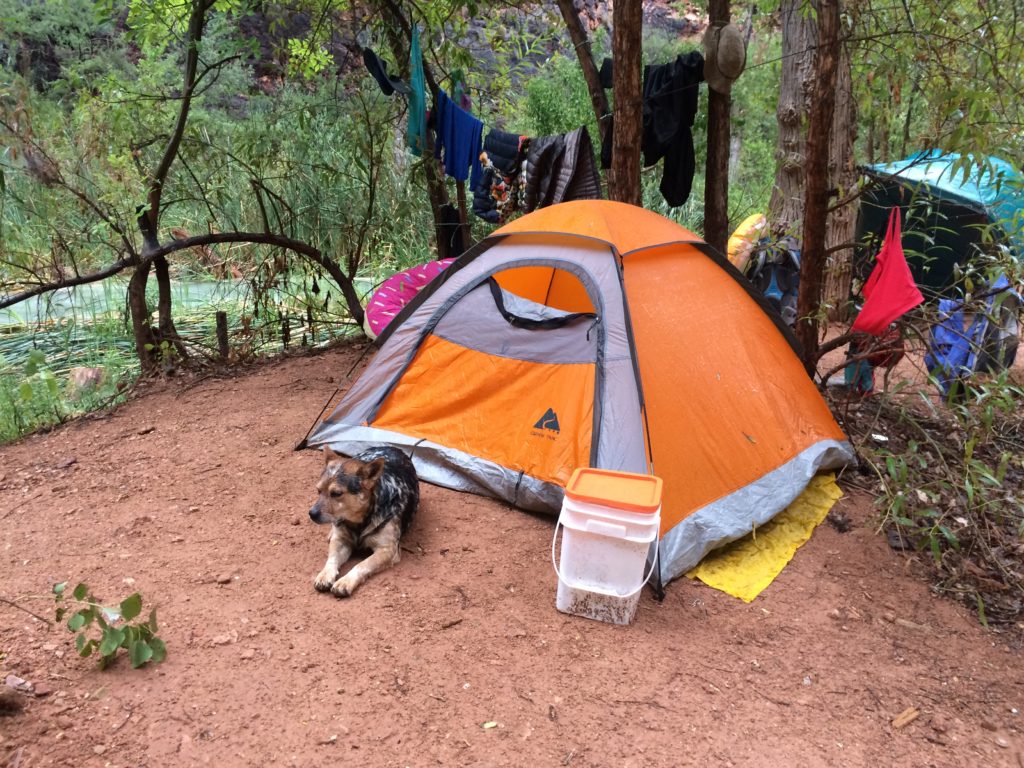
The campground itself is about 1-mile long and is located between the two falls (Havasu and Mooney Falls).
Warning: If you choose to set up shop near the river during monsoon season you may get wet.
Flash floods are a HUGE deal here.
Because it does tend to rain a lot here I recommend you try to find a spot under a tree for some added protection. I also recommend bringing a tarp to hang between the trees for even more protection from the rain and even the sun!
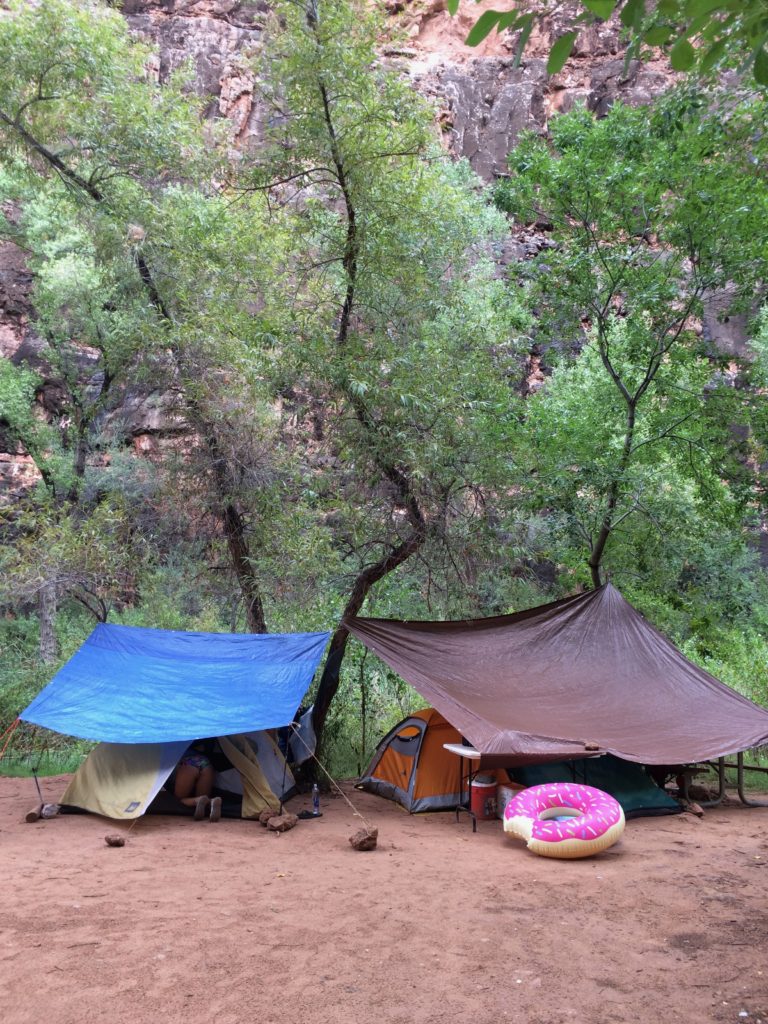
Unfortunately, no fires are allowed here to keep the land safe; however, backpacking stoves are ok.
Now lets to about the bathroom situation. There are 4 maintain bathrooms along the campground area. They are very clean too!
As far as water resources go, there is a water spiget at the front of the campground for you to fill up with.
OTHER WAYS TO SEE HAVASU FALLS
If roughing it via backpacking and camping aren’t your thing there are still a few other options to see Havasu Falls.
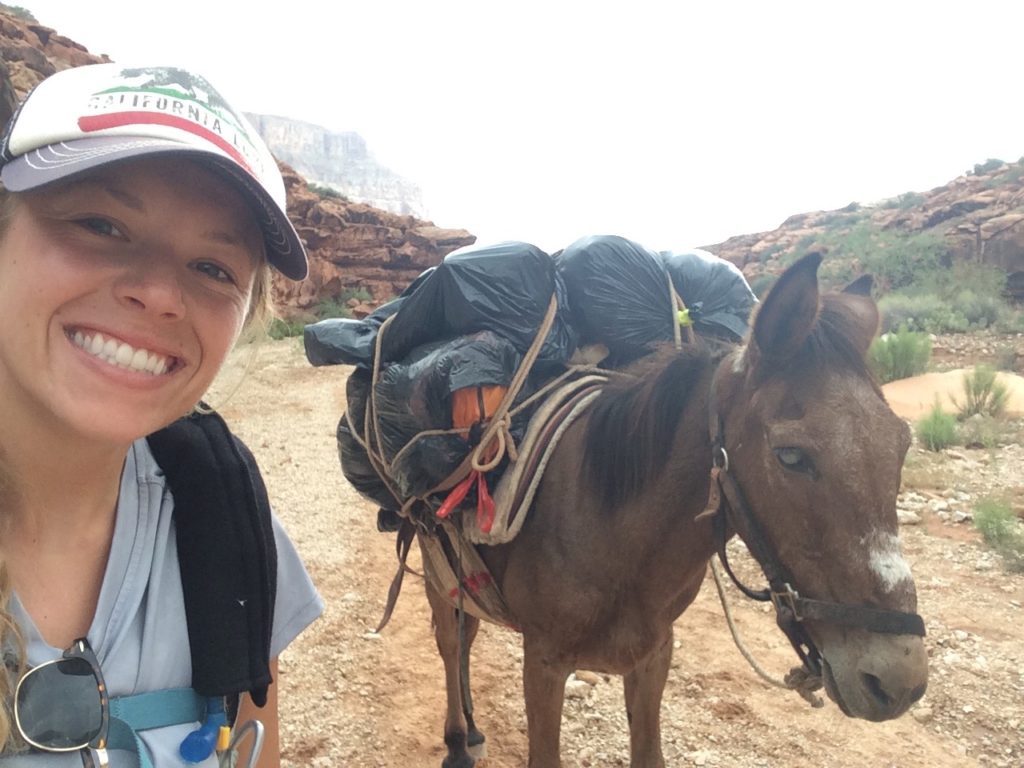
By Mule: If you don’t want to backpack, but you still want to camp then consider having a mule carry your belongings to the bottom while you hike to the bottom. The mules must be reserved beforehand. Each mule can carry up to 4 bags and it costs $400 roundtrip.
By Helicopter: I have only flown in a helicopter once, but this would be a pretty cool way and angle to see the falls. A ride is $85/person one way.
The Lodge: If camping isn’t your style then you can hike down to the Havasupai lodge and stay there for the night. The lodge runs about $440 per night.
MORE ACVTIVITIES AT HAVASUPAI
The fun doesn’t stop just at Havasu Falls! There is more to look forward to like Mooney Falls and Beaver Falls.
Mooney Falls: This waterfall is located about 2.2 miles from Supai Village and are right past the Havasu campgrounds. If you decide to backpack Havasupai then you should definitely plan to visit Mooney Falls one day too.
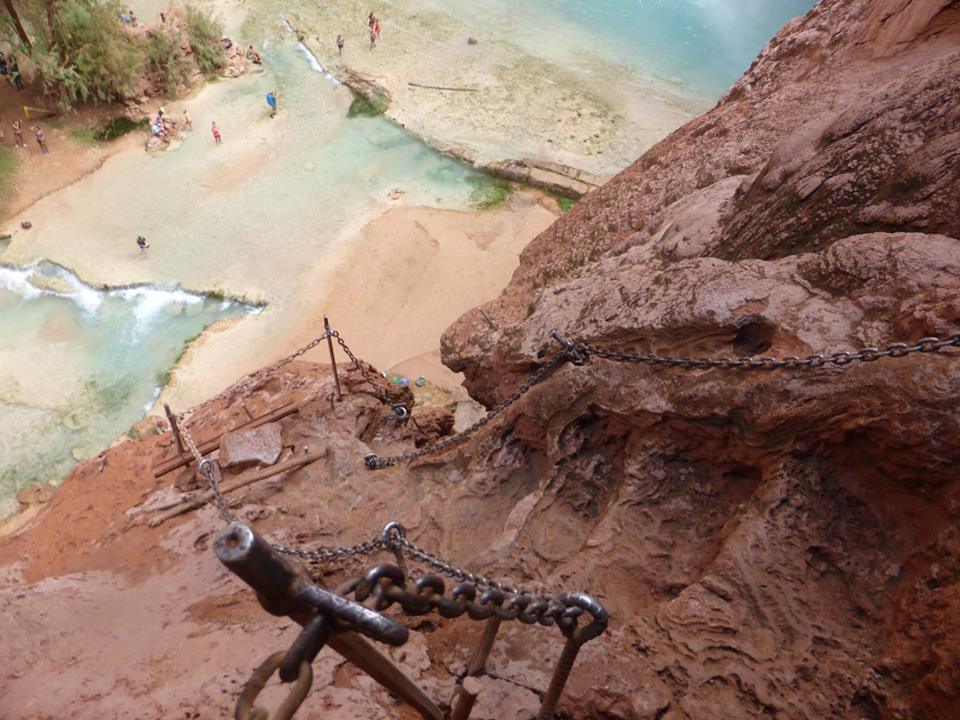
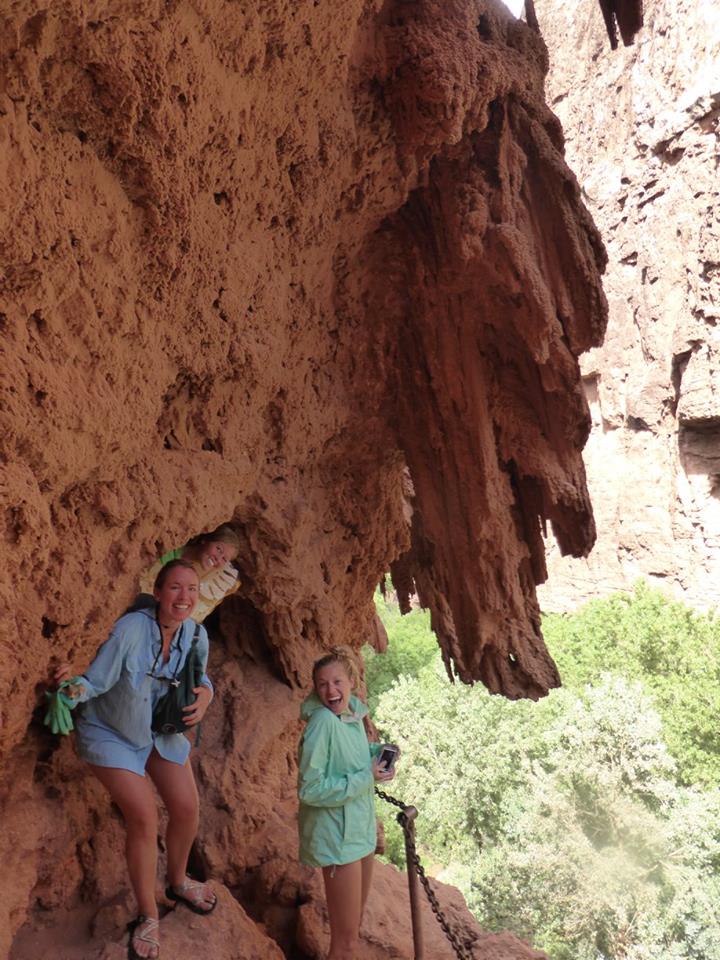
Mooney Falls sits at 190 feet and in order to get to the base of Mooney falls you need to make your descent using the chains provided. If you are scared of heights this may be difficult for you. Take your time and just be cautious.
No need to rush.
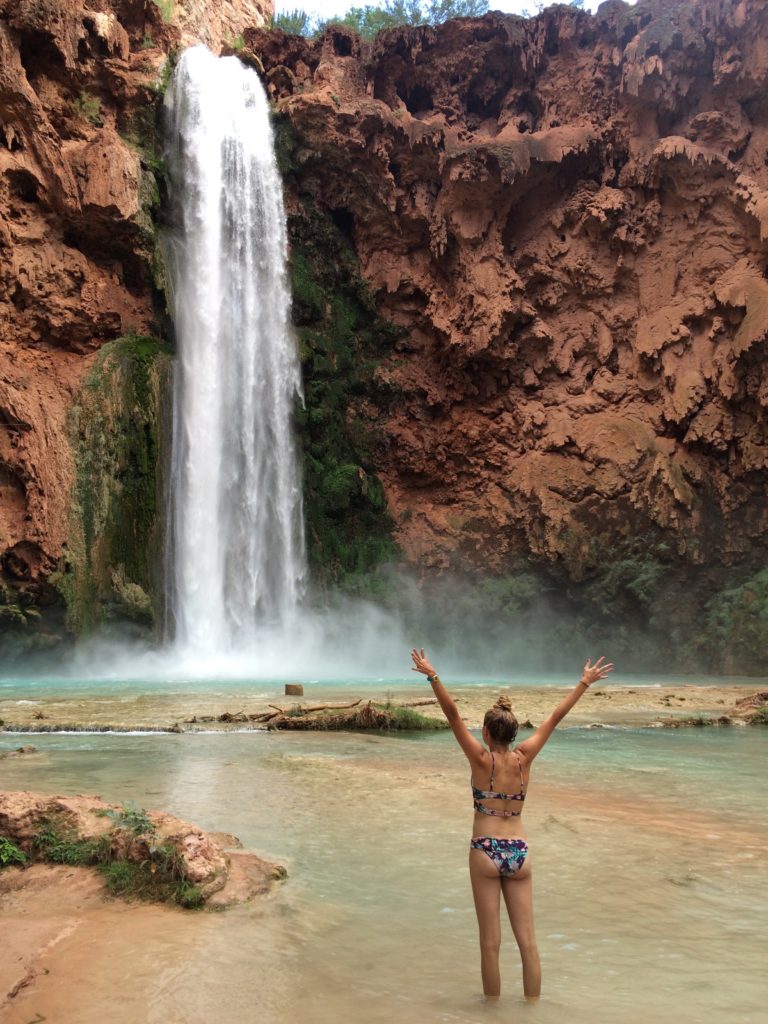
We personally chose to spend a ton of time at Mooney Falls. We brought our lunch here and our inner tubes and enjoyed a wonderful afternoon in some epic scenery.
Lots of people tend to move on to Beaver Falls, we did not and I regret this decision.
Beaver Falls: Getting to Beaver Falls is a pretty flat hike that requires some wading through water, so make sure to bring your water shoes.
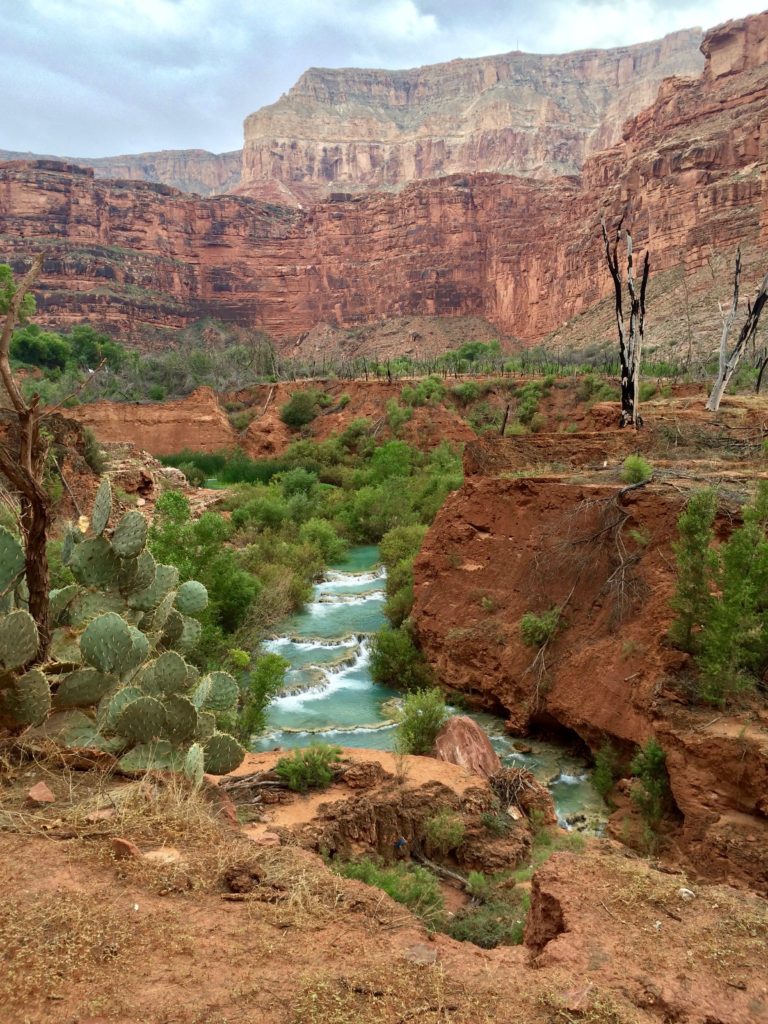
Again, I did not visit Beaver Falls, but it looks gorgeous and I have heard that you can jump off rocks into the icy cold water!
FINAL THOUGHTS FROM YOUR OUTDOOR LOVING GIRL
Alright guys there you have it! You know I love to make my articles detailed with everything you may need to help you out!
This is a one of a kind place and I hope to go back some day! I highly recommend visiting here if you can!
Have you ever been here?
Make sure to like and save this post for later!
